How to create an AI infographic design with Illustrator and GraphicsGen
Learn how to create an AI infographic design using GraphicsGen and Illustrator, from idea to reusable systems, with a step-by-step workflow for consistent, scalable visuals.
Envato: Get every type of asset for any type of project, and access to AI tools. Start now
Stop spending days on product photos. Let ImageEdit handle the background clean-up and lighting fixes — so you can focus on creative direction.

Product photography eats up time you don’t have. Between shooting, removing backgrounds, fixing lighting, and resizing for different platforms, a simple product catalog can take days to complete. For eCommerce businesses, that delay directly impacts sales.
The good news? Learning how to use AI for product photography can handle the tedious editing work, freeing you to focus on creative decisions that actually differentiate your brand.
Today, we’re going to show you how to use AI for product photography to streamline your eCommerce image optimization. In this tutorial, we’ll walk you through a speedy process for automated product photos and eCommerce, and by the end, you’ll learn:
This workflow is ideal for small business owners who need to compete without expensive studio setups, as well as for product photographers who want to eliminate repetitive editing tasks.
Envato ImageEdit (one of the best AI image editors) is a dream for this, especially with its Nano Banana integration — Google DeepMind’s Gemini-based image editing model — to deliver professional results with minimal effort (its capabilities are quite wild).
The stronger your product imagery, the stronger both your sales conversion rates and trust. In a survey of online shoppers with Etsy, 90% of respondents stated that the quality of images is extremely important when deciding to buy, and can be the difference between whether someone adds an item to their cart or bounces.
Automating your workflow with AI for product photography doesn’t just save time — it creates space for better brand storytelling, styling, lighting direction, and campaign creativity.
Let’s get started.
Start with solid source material. AI enhances your images—it doesn’t fix fundamentally poor photography.

Now for the magic. ImageEdit enables you to create automated product photos that would take significantly longer per image in traditional software.

Background removal: Strip away distracting backdrops or replace them with white, transparent, or branded colors.

Let’s change the background to a more neutral tone.

Object removal: Erase dust, price tags, hanging threads, or any unwanted elements.

Let’s remove tags, dust, and other unwanted elements from your product imagery.

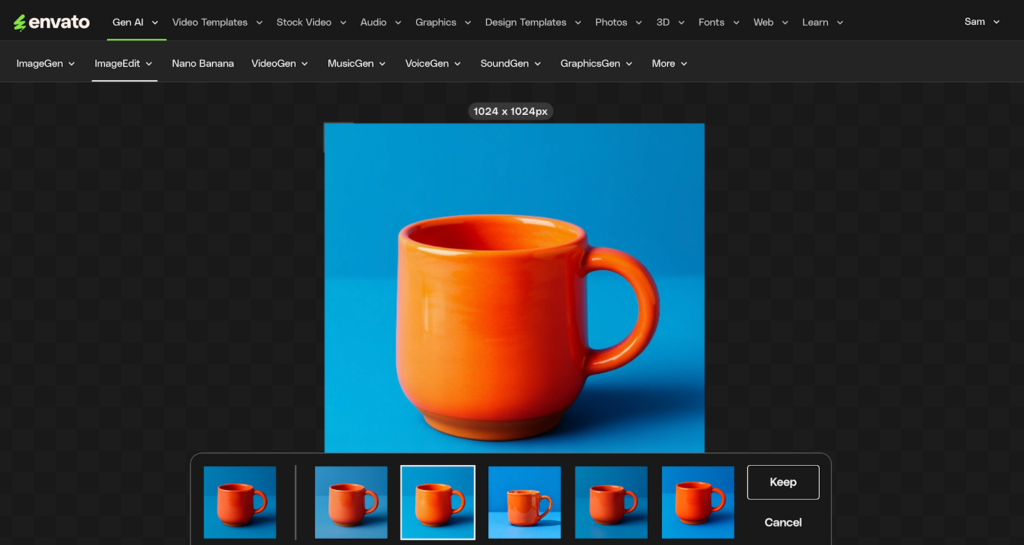
Lighting and exposure adjustment: Adjust shadows, boost clarity, and fine-tune brightness and contrast with intuitive slider controls.
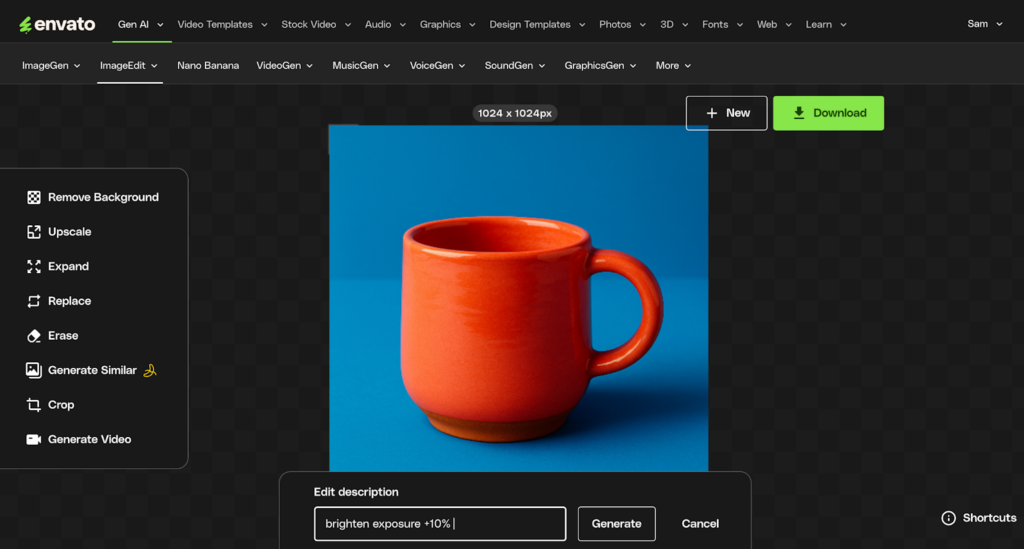
See the difference when brightening the exposure by +30%.
Cropping and alignment: Change aspect ratios instantly for Instagram (1:1, 4:5), Shopify, Amazon, or other platforms.

Additional editing capabilities:
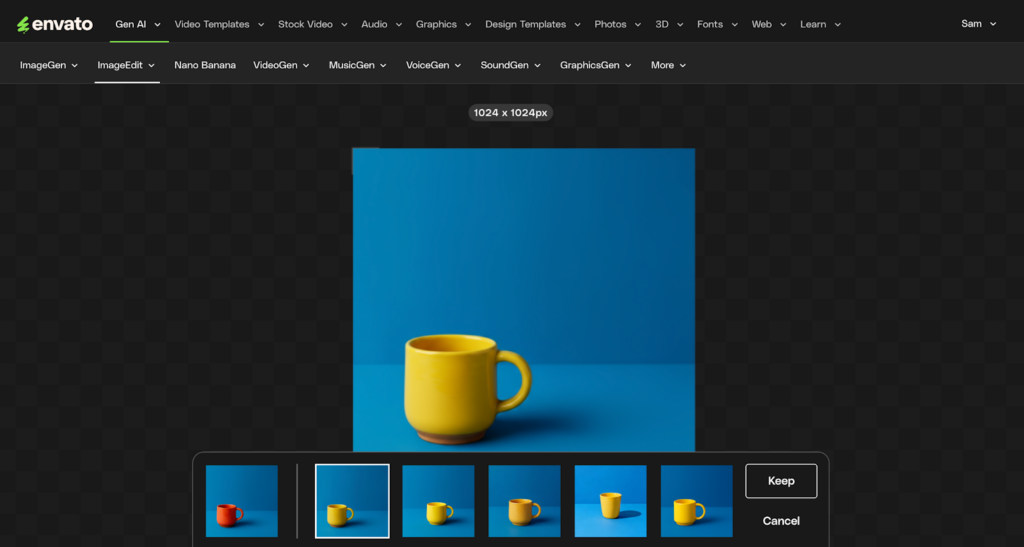
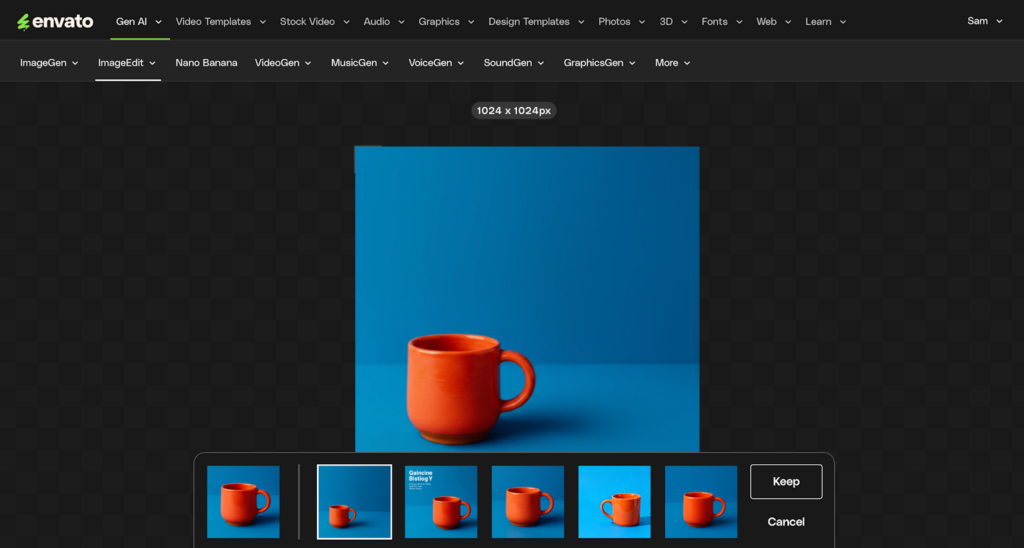
Nano Banana lets you update the color and other features almost instantly. For example, let’s instantly change this cup from yellow to red.
Outpainting lets you extend your canvas beyond the original frame — perfect for:
Here’s how it works:
Let’s give it a whirl with this (now rainbow!) cup.

Let’s adjust the composition and reposition it within the frame.

Magical stuff. Just make sure to review them in case any unusual issues arise, such as overcorrections, strange edges, or halos.
For detailed prompting strategies, see our guide to crafting the perfect Nano Banana prompt.
Once you’re happy with your edits, download your finished image:

Make sure you save consistent file names, and embed metadata if you need (and advised), like alt text, or SKU IDs.
Upload and integrate into your eCommerce platform, whether it’s Etsy, Shopify, or another platform. Then go forth and make the dosh!
Tips for AI eCommerce Product Photography
High-quality product images directly impact sales, but file optimization matters just as much as visual quality.
What ImageEdit gives you:
Transparent backgrounds: PNG files with clean, transparent backgrounds let you place products on any background color or texture without messy white boxes — essential for consistent branding across platforms.
Optimized file quality: While ImageEdit exports PNG format, these files are already compressed efficiently. PNG preserves sharp edges and product details better than JPEG, which is why it’s the professional standard for product photography.
Consistent dimensions: Using the crop tool before export ensures every product image matches your platform’s requirements — no awkward stretching or weird crops that make products look unprofessional.
Optional: Take it further with WebP conversion
For even faster page loads, consider converting your PNG exports to WebP format using free online tools. WebP is Google’s modern image format that compresses 25-35% better than PNG with no visible loss of quality. This improves your Google Core Web Vitals scores, which directly impact search rankings.
Real-world impact of faster-loading images:
The workflow: Edit in ImageEdit → Export PNG → Convert to WebP (optional) → Upload to your store.
More ImageEdit eCommerce tips
Want to go deeper? Explore our other ImageEdit tutorials, which cover advanced techniques like prompting creative backgrounds and imagery, illustration prompting, and secret shortcuts to enhance your workflow.
Ready to build complete campaign assets? Browse Envato’s graphic templates for professional designs, or use Envato’s VideoGen to generate video content from your product images.
Nano Banana is included with your Envato subscription. Hover over ImageEdit in the top navigation and select Nano Banana from the dropdown. You can also access it through the Generate Similar feature.
Not with ImageEdit. The tool utilizes content-aware compression, which preserves product details while optimizing file size. Always preview at 100% zoom to check for artifacts.
Yes! One of the biggest advantages of using AI for product photography is that it can enhance images taken with basic equipment. While better source photos always help, ImageEdit’s AI can significantly improve lighting, remove imperfections, and create professional backgrounds even from smartphone photos. This makes automated product photos accessible to small businesses without expensive studio setups.
No. Nano Banana runs directly in your browser through ImageEdit — no downloads required.
ImageEdit exports PNG files, which support transparency and preserve sharp edges. For faster loading, convert to WebP using free tools like CloudConvert.
Learn how to create an AI infographic design using GraphicsGen and Illustrator, from idea to reusable systems, with a step-by-step workflow for consistent, scalable visuals.
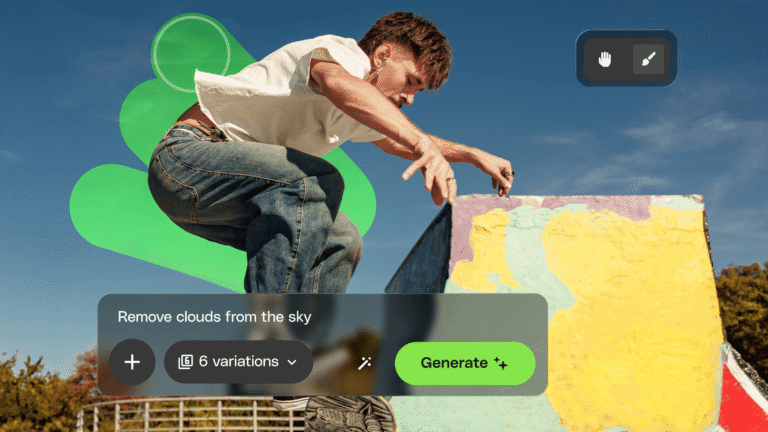
Envato's AI image generator and editor now live in one connected workspace with precision masking, smarter AI models, full version history, and seamless stock-to-edit flow. Here's everything that changed.
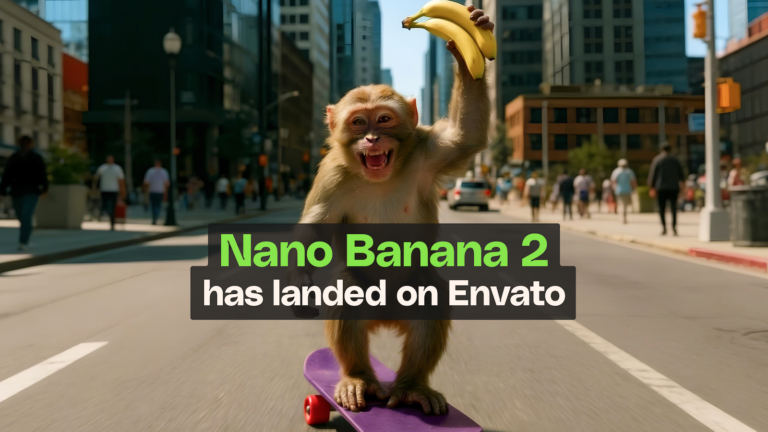
Google's fastest and latest image model has just landed in your Envato subscription, bringing sharper output, better reference consistency, and noticeably quicker generations.
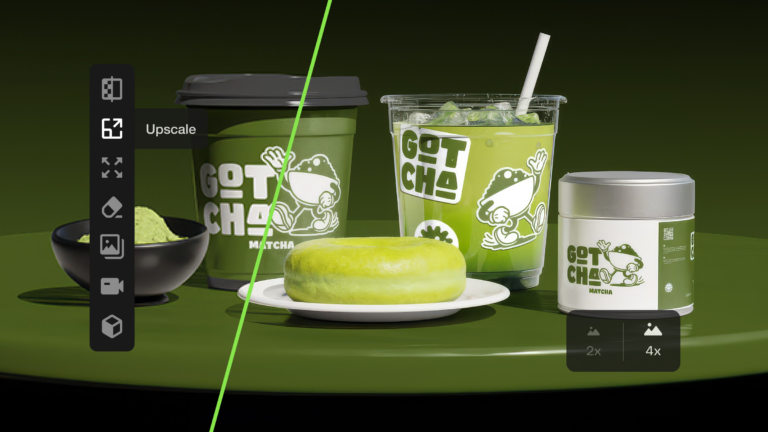
Learn how to upscale images with AI using ImageEdit. Enlarge photos 2x or 4x while preserving sharpness, texture, and detail for print, design, and marketing.