How to create an AI infographic design with Illustrator and GraphicsGen
Learn how to create an AI infographic design using GraphicsGen and Illustrator, from idea to reusable systems, with a step-by-step workflow for consistent, scalable visuals.
Envato: Get every type of asset for any type of project, and access to AI tools. Start now
ImageEdit’s AI object remover erases unwanted elements instantly. Achieve smooth, realistic edits for portraits, products, and landscapes with powerful, content-aware AI precision.
Every photographer and content creator has faced it: the perfect shot — almost. A stray power line, an unwanted shadow, or a random person in the background can turn an otherwise flawless image into a retouching nightmare. Traditional photo editing tools like the Remove Tool or manual masking in Photoshop can take ages and demand high precision.
That’s where AI changes the game. With ImageEdit’s smart eraser, powered by intelligent content-aware fill, you can remove unwanted objects from photos instantly. The tool detects surrounding textures and lighting to seamlessly fill in erased areas, delivering natural-looking results in seconds.
Whether you’re retouching lifestyle shots, cleaning up product photos, or perfecting portfolio visuals, ImageEdit’s AI object remover is a fast, intuitive solution designed for modern creative workflows.
The AI object remover in ImageEdit (one of the best AI image editors) automatically detects and removes unwanted elements from your photos, delivering realistic, context-aware results.
With the smart eraser tool, you can:
Result: a clean, professional image — no complex retouching required.
Start by opening ImageEdit and uploading your photo. You can drag and drop the file directly into the workspace or click Upload from the top toolbar. Remember to use a high-resolution image whenever possible. The higher the detail, the better the AI can analyze the surrounding context for seamless removal.
Supported formats: JPG and PNG.

💡 Tip: You can use a stock photo from the Envato library or edit an AI-generated image or graphic.
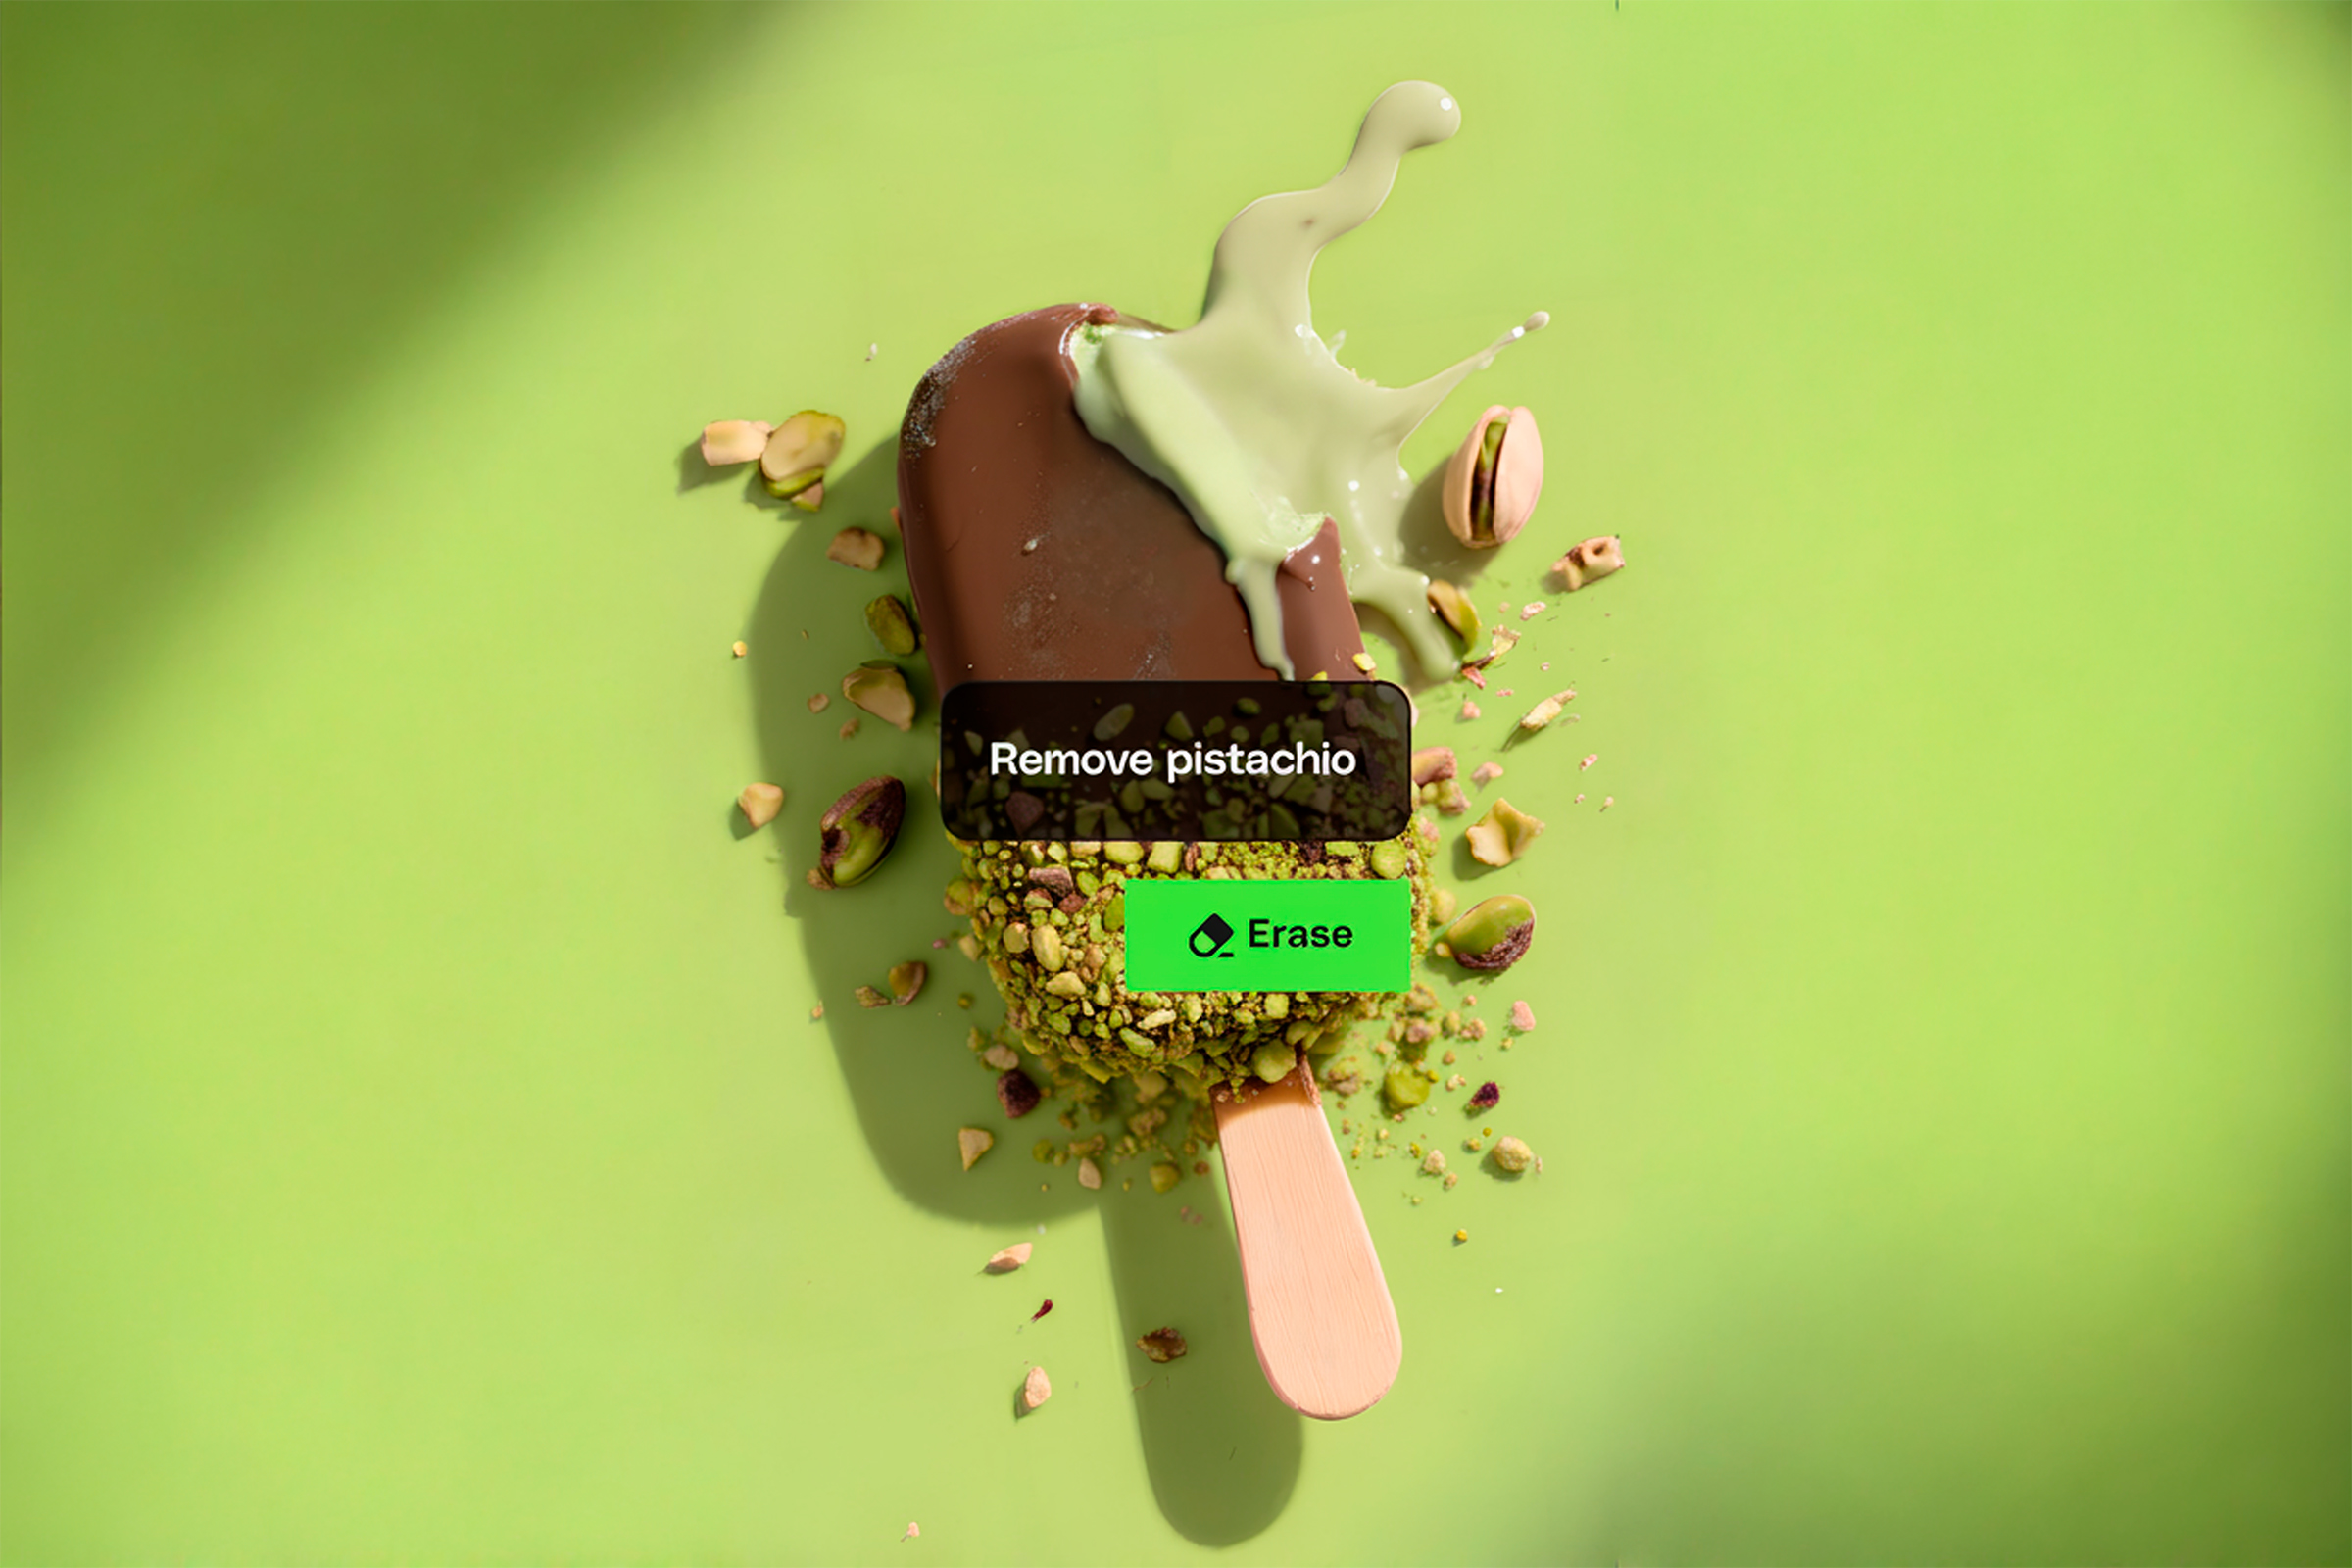
In the sidebar, click on the Erase icon. This opens the AI-powered object removal interface, where you can choose from five preset brush sizes — small, medium, large, extra-large, and extra-fine.
You can switch between brush sizes at any time for better control. Although the size values can’t be customized, they’re optimized for most scenarios — from tiny blemishes to large distractions.

Now, paint over the object or area you want to remove using the selected brush. You’ll see a soft red overlay marking the region targeted for erasure.
The brush follows natural edges well, making it ideal for quick selections — no need to trace perfect outlines.
Examples:
Why it matters: AI uses the brushed area as a guide to identify what to remove and how to reconstruct the background using nearby textures.

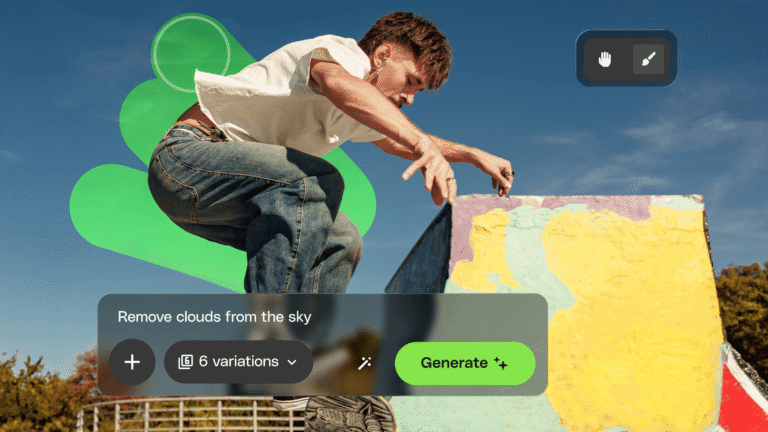
For even greater accuracy, use the description box below the editing area. Here, you can specify exactly what you want erased or refined.
Adding a short, clear instruction helps ImageEdit’s AI understand what’s in focus and how to fill the background appropriately.
Example prompts:
This step is optional, but highly recommended for complex edits where the object blends into detailed backgrounds.

When you’re ready, click Erase. The AI analyzes the selection and automatically fills in the area using content-aware fill technology. Within seconds, you’ll get two versions of your edited image.
Review both results carefully — check how lighting, shadows, and textures blend with the original photo.
One version might prioritize smoother textures, while the other may retain finer detail.
💡 Tip: Always zoom in to inspect transitions. The best version should appear natural, without visible patches or blur.
Once you find the best match, click Keep.

You can easily continue to edit out elements of your image if you need. Once you click on Keep, the ImageEdit panel will be available again, and you can repeat the steps until you’re satisfied with the image.
💡 Tip: to remove larger objects from the image, alternate between the brush sizes and zoom in. If you wish to unmark a brushed area, click on the dash icon (-) next to the brush sizes.


If you plan to continue editing, you can also use ImageEdit’s other features, like Expand or the AI Background Remover.
When you’re happy with the result, click Download. Your edited image will automatically export as a high-quality PNG.


Switch brush sizes frequently to maintain control over coverage and edge blending.
Using the description box gives AI crucial context — it helps distinguish what should disappear versus what should stay. This is especially helpful in busy scenes with similar textures.
After using the smart eraser, you can:
Zoom in around the edges of your brushed area for more precise control, especially when removing objects near hair, shadows, or textured surfaces.
When comparing AI results, pick the version that keeps shadows and lighting natural. Overly smooth fills can make an image feel artificial.
Q: What is an AI object remover?
A: An AI object remover is a tool that automatically detects and removes unwanted elements from a photo. It uses content-aware fill to reconstruct background areas intelligently.
Q: How many brush sizes does ImageEdit offer?
A: There are five preset brush sizes — from small to extra-large — designed to handle a variety of edit types, from tiny blemishes to large objects.
Q: Can I describe what I want erased?
A: Yes! The description box lets you specify exactly what to remove, helping the AI deliver more accurate, natural results.
Q: Does ImageEdit give multiple results?
A: Yes. After processing, ImageEdit generates two AI versions. You can preview both and keep the one that looks most realistic.
Q: Are there limitations?
A: The smart eraser works best on clear, high-quality images. Complex patterns, reflections, or fine textures might require light manual cleanup afterward.
With ImageEdit’s smart eraser, object removal becomes effortless, precise, and fast. Whether you’re cleaning up a busy street photo, polishing a product image, or refining a professional portrait, the AI object remover makes every pixel count.
What used to take 15 minutes of clone stamping can now be done in seconds — and with better results.
By combining smart brush control, content-aware fill, and AI-driven scene analysis, ImageEdit and Edit with AI let you focus on creative decisions instead of technical fixes. From cluttered to clean, it really can be just a few clicks away.
Learn how to create an AI infographic design using GraphicsGen and Illustrator, from idea to reusable systems, with a step-by-step workflow for consistent, scalable visuals.
Envato's AI image generator and editor now live in one connected workspace with precision masking, smarter AI models, full version history, and seamless stock-to-edit flow. Here's everything that changed.

Google's fastest and latest image model has just landed in your Envato subscription, bringing sharper output, better reference consistency, and noticeably quicker generations.
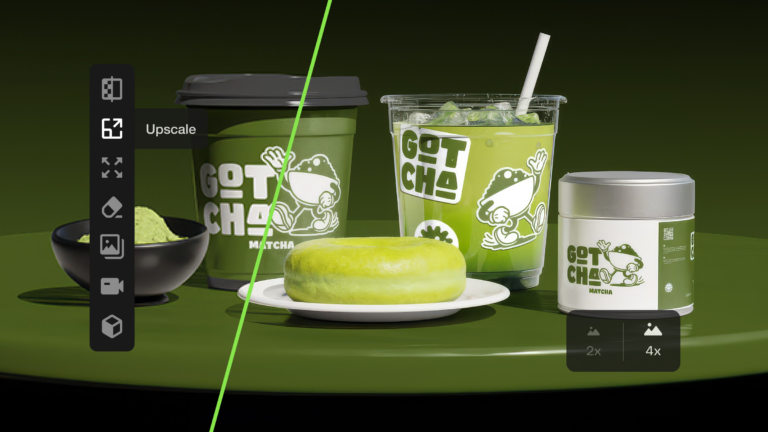
Learn how to upscale images with AI using ImageEdit. Enlarge photos 2x or 4x while preserving sharpness, texture, and detail for print, design, and marketing.