


Best graphic design software in 2026: 12 tools for every designer
Discover the best graphic design software for every workflow. Compare Photoshop, Illustrator, Figma, Blender, Canva, Affinity, and more to find your ideal tool.
Envato: Get every type of asset for any type of project, and access to AI tools. Start now
AI video generation has moved fast. What began as experimental, unpredictable clips is now becoming a practical part of real editing workflows. However, many creatives still struggle to control how AI-generated footage actually behaves once it hits the timeline.
That’s where presets come in. In this VideoGen Presets guide, we’ll break down how presets shape camera movement, composition, and pacing before generation even begins, giving each clip a clearer structure from the start. Instead of relying on trial-and-error AI video prompting, presets help AI footage feel more intentional, consistent, and easier to edit from the first pass.
This approach benefits a wide range of creatives. Beginners can achieve more reliable results with Envato’s AI video generator, without requiring deep technical knowledge, while experienced editors can generate footage that behaves more like real shots, useful for B-roll, transitions, or establishing shots.
Video Presets are predefined generation modes that influence how an AI video clip is created. Instead of relying solely on text prompts, a preset sets expectations for aspects such as camera movement, framing, and pacing before generation begins.
Envato provides preview clips for each preset to help you decide which to use. Remember, your prompt still matters, but the preset nudges the result in a specific direction.
Using an AI video generator can feel unpredictable. Two similar prompts may produce clips that behave very differently, making it difficult to plan an edit or build a sequence that feels cohesive.
One of the core ideas behind this Envato’s AI video generator Presets guide is structure. Presets reduce guesswork by narrowing the range of possible outcomes. By setting boundaries around motion and framing, they make AI video generation more reliable and easier to repeat, especially when you need multiple clips that work together.
Presets are not aimed at a single type of creator. For example:
Starting with a preset in your AI video workflow usually means fewer failed generations. The motion, framing, and pacing tend to feel more deliberate, which reduces the need to regenerate clips just to “fix” basic issues.
Presets also help when working with multiple shots. When clips share similar movement and structure, they sit together more naturally in an edit. Instead of feeling like isolated experiments, they start to function as parts of a sequence.

Presets exist to give the generation process some boundaries. Instead of leaving camera movement and framing entirely open-ended, a preset sets a loose direction for how the shot should behave. That guidance helps shape the result early on, while still leaving room for the prompt to influence the subject and mood.
AI video generators can be inconsistent, even with similar prompts. Presets narrow the range of outcomes by guiding motion and style, so fewer retries are needed to get something usable. The process becomes faster and more reliable, especially when generating multiple clips for the same project.
Clips that lack structure are difficult to cut, grade, or sequence. Presets help AI-generated footage behave more like traditional shots, making it easier to work with within standard editing tools and timelines. The result is footage that feels less experimental and more practical.
When creating multiple clips for the same project, consistency is crucial. Presets make it easier to generate footage that feels related, without having to fine-tune every prompt from scratch. This is especially useful for repeat content, branded work, or situations where you need usable results quickly rather than endlessly experimenting.

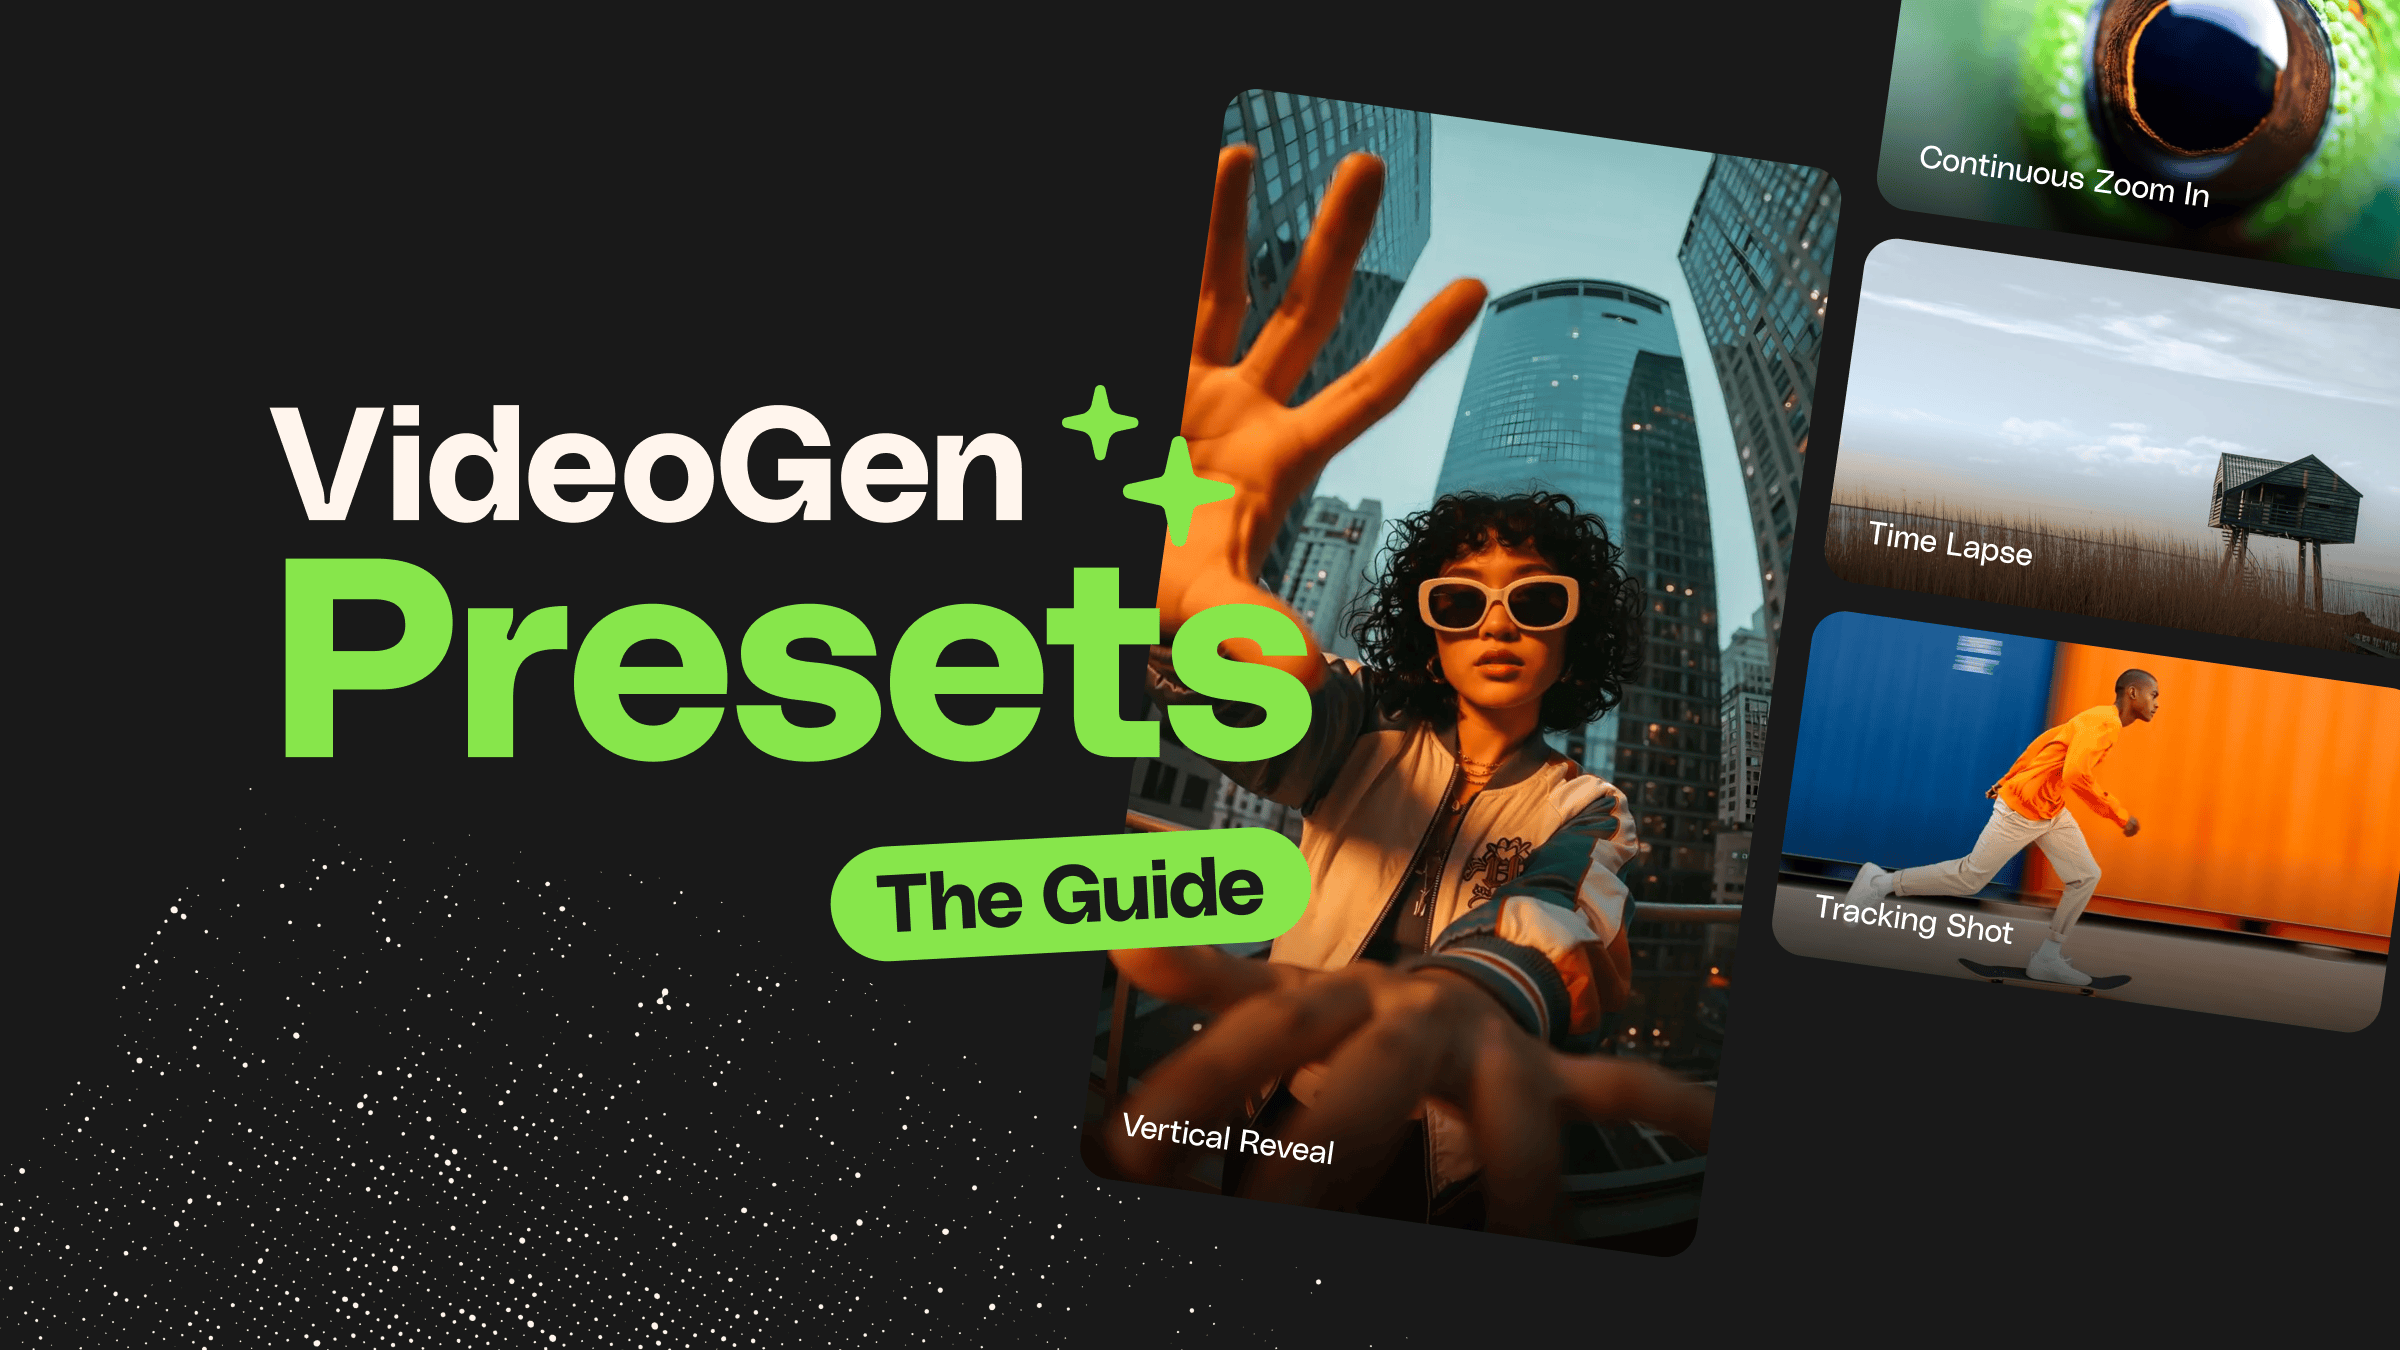
Here’s a list of all the presets currently available for use on Envato VideoGen. We’ll explain each one individually so you can choose the right one for your needs.
The camera moves side to side instead of in or out. You’d use this when a shot feels a bit dead, but you don’t want to change how close things feel. It tends to work best in spaces with layers (foreground, background, something to slide past).
This one pulls the camera away from the subject. It’s often used to wrap up a moment or to show more of what’s going on around it. The pullback naturally slows things down and gives the scene some breathing room before a cut.
This preset maintains a slow and controlled movement. Nothing rushes forward. It tends to suit darker or quieter scenes where mood takes precedence over action, and where the camera movement should be almost imperceptible until the tension builds.
Here, the camera sticks with the subject as it moves through the scene. It works well when motion is the point of the shot, such as following a person or object through an environment. The result usually feels more grounded than a free-moving camera.
Rather than moving in a straight line, the camera curves around the subject. This can help show shape or scale without cutting away. It helps add visual interest while keeping attention on a single focal point.
The frame gradually opens up as the shot plays. This is useful when you want to introduce context gradually, rather than all at once. It often works well between scenes, especially when transitioning from detail to environment.
This preset focuses on showing where the scene takes place. The camera is usually wide and steady, with little emphasis on movement. It is most effective at the start of a sequence, providing the viewer with a clear sense of location before moving in for a closer look.
The scene is revealed vertically, making it well-suited to mobile-first formats. It works best when height or vertical space is part of the composition. This preset is commonly used for short-form or social content.
The camera steadily zooms in on the subject. This is useful when you want to guide attention or build subtle emphasis without a sudden change in framing. The movement feels controlled and gradual.
This preset physically moves the camera closer to the subject. It creates a stronger sense of presence and is often used for emotional beats or moments of emphasis. The result feels more cinematic than a digital zoom.
This preset simulates aerial movement from above. It is well-suited for landscapes, travel visuals, or large spaces where scale is important. The motion tends to feel smooth and expansive.
Here, the camera employs small, natural movements rather than maintaining a perfectly stable position. This can make footage feel more grounded or observational. It is often used to reduce the polished look of a scene.
Time is compressed, allowing changes to occur quickly within a short clip. This is useful for showing progression, movement, or transformation rather than fine detail. It works best when change over time is the focus.
This preset produces a very fast sideways movement across the frame. It moves fast and is often placed between clips.
This preset makes your video clip appear to be a hologram. The image appears glowing and digital, with an intentionally artificial look rather than a natural one. It works best as a visual accent in fashion, music, or concept-led content where realism is not the goal.
This preset adds visible light flare to the image, usually around bright areas in the frame. The shot itself stays relatively still, with the emphasis placed on how light behaves rather than on camera movement. It is well-suited to atmospheric moments, such as backlit scenes or polished brand visuals.
Head on over to Envato’s video generator to begin a new video generation. Inside the prompt box, you’ll find a button named “Presets”. Click on it to get started!

Choose a preset based on how you want the shot to move.

Write a short prompt covering what the scene is and how it should feel. If you have a start frame, you can add it here to generate a clip that starts with exactly what you have in mind.
Click on the Generate button and let VideoGen create the first version. Check the result and adjust if needed. Then download the clip for editing.

Once your base clip is ready, the next step in the VideoGen workflow is to bring it into a video editor, such as Premiere or After Effects, for editing. This is where your raw AI footage starts to transform into a polished motion design AI video.
Once the clips are ready, they can be brought straight into a standard editing setup. Simply place them on the timeline in Premiere Pro, CapCut, or DaVinci Resolve, just as you would with any other footage.

AI clips can often “settle” in the first moments. Shave off the first few frames until the motion feels clean and more natural.

Tweak the clip so it sits comfortably with the other shots. You’re aiming for a similar brightness and colour, not a new look. For example, you could make a few small adjustments to exposure or white balance, which are usually enough.

A touch of grain or light noise can help the clip feel less sterile and blend better with filmed material. Use just enough to unify the sequence.

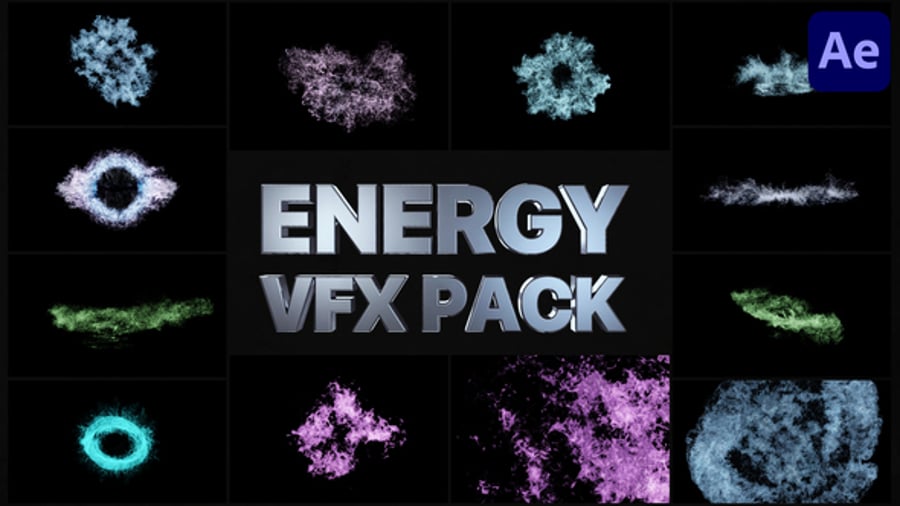
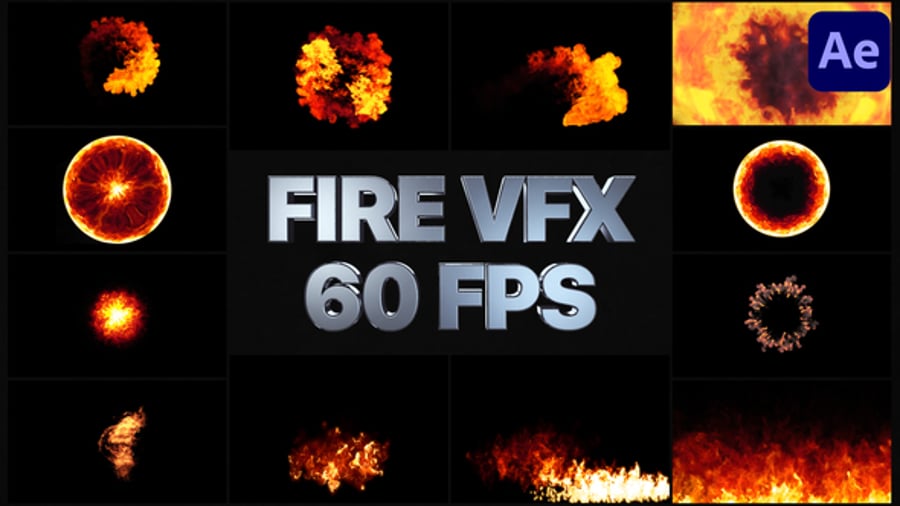
Envato also offers pre-made VFX assets like particle bursts, smoke, fire, and energy effects. Import them just like any other video file, then scale and position them in your scene.

Using presets does not mean your prompt needs to be complicated. In most cases, the preset already handles camera behaviour and pacing, so your job is to describe intent rather than mechanics.
Short AI video prompts often work best as a first pass. They help you see how the preset behaves without over-directing the result:
More detailed AI video prompts tend to work better when ideas are kept separate rather than combined into a single, lengthy line. This approach keeps the prompt readable and makes it easier to adjust one element at a time:
Presets handle the overall movement, but tone and pacing still respond to how you describe the scene. Words like “slow,“ “quiet,“ “energetic,” or “observational” tend to influence timing and intensity without conflicting with the preset.
Example: Empty apartment interior, quiet, slow, muted light, lingering atmosphere.
Presets are most effective when used in combination. Rather than treating each clip as a standalone result, you can mix preset types to shape longer sequences and give different parts of a project distinct roles.
Think of each preset-generated clip like a modular building block of a larger edit. Each one serves a purpose, and the sequence brings them together. This makes planning easier and helps longer projects stay visually consistent without forcing every shot to look the same.
This combination appears frequently in ads and brand work. Starting wide gives quick context, then moving closer helps land attention where it matters. It’s a familiar pattern and tends to work well when time is tight.
This pairing fits lifestyle and documentary-style content. Handheld shots keep things grounded, while tracking shots follow movement naturally. Together, they suit scenes that feel observed rather than staged.
For social and fashion content, especially in vertical formats, this mix makes sense. The reveal brings the viewer into the scene, and the zoom helps settle attention on a detail without feeling abrupt.
Travel and location-driven projects often lean on this approach. An aerial view gives scale, then an establishing shot brings things back down to eye level. It’s a quick way to orient the viewer.
This pairing is more prevalent in dramatic or darker edits. The slow push builds tension, while a whip pan can break the scene or move things along. It’s often used around music cues or sharp cuts.
Video presets are built-in generation options that shape how a clip is created before it’s rendered. They help guide aspects such as framing, movement, pacing, and overall feel, resulting in a more structured and consistent narrative from the start.
Yes. A preset sets the general direction, but your prompt and any start frame you use still play an important role. You can continue to shape the subject, mood, and visual details while the preset handles the underlying structure.
For ad-style work, presets that feel controlled and predictable tend to work best. In practice, combinations like Establishing Shot for setting context and Dolly In for product or message focus are common choices.
For fashion, beauty, or social-led campaigns, more expressive options often make sense, such as Vertical Reveal, which is well-suited for mobile framing.
Reusing a start frame helps maintain a steady look, and sticking with the same details, such as clothing, lighting, or setting, usually helps as well.
Some presets are tuned around steadier movement and more controlled pacing. As a result, motion and transitions tend to feel more fluid than those in presets designed for faster or more energetic visuals.
Yes. VideoGen clips are cleared for commercial use under Envato’s licensing, which means they can be used confidently in client work.
Individual clips are usually quite short, often around five seconds. They’re designed to be edited, trimmed, and combined, rather than used as long standalone shots. However, if you need a few more seconds for your clip, you can use VideoGen Extend! Simply click on the Extend button and type in what you want to happen next.
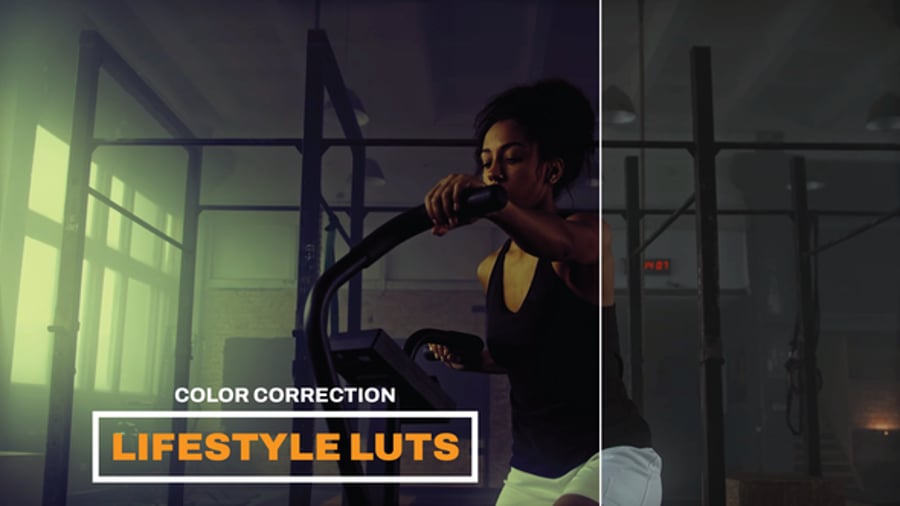
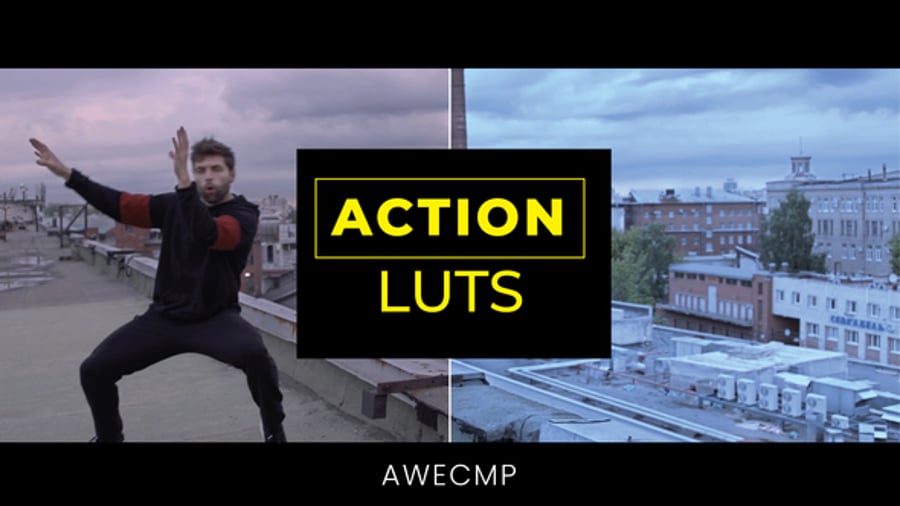
In most cases, it’s about a subtle adjustment rather than heavy grading. In post-production, adjusting brightness and color to match surrounding shots, using LUTs, and adding a subtle amount of texture when necessary help AI clips blend more seamlessly into a mixed edit.
Presets affect more than just a clip’s appearance. They change how the shot comes together, which is why the same prompt can feel noticeably different from one preset to another.
Vertical Reveal is a natural fit for mobile formats. For fast-scrolling feeds, presets like Whip Pan, Continuous Zoom In, or Dolly Left/Right also work well, as the movement is easily readable on a small screen.
Discover the best graphic design software for every workflow. Compare Photoshop, Illustrator, Figma, Blender, Canva, Affinity, and more to find your ideal tool.

Learn how to add LUTs in Final Cut Pro, from importing .CUBE files to adjusting intensity and combining with colour correction for better video grading results.

Learn how to use LUTs with RAW footage for accurate colour grading. A step-by-step guide to applying LUTs, preserving dynamic range, and achieving cinematic video results.

Every month, we're rounding up our favourite TikTok trends: the sounds, hooks, and concepts that are going viral right now. We'll break down the formats, show you examples, and give you practical ways to adapt them to your niche.