


.jpg?w=900&h=506&cf_fit=cover&q=85&format=auto&s=45eb8cf86e9cf8193770d98399bcc7ac13c4195560e9666dd8ee2f8230941051)


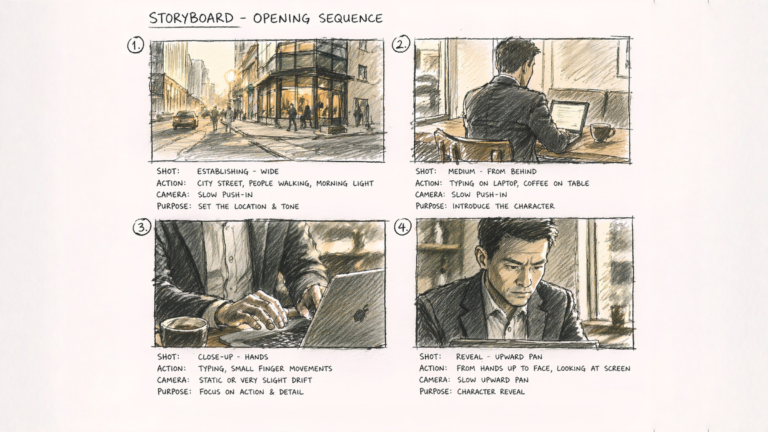
AI short film workflow: how to create cinematic videos with VideoGen and DaVinci Resolve
Learn how to create cinematic AI videos using a step-by-step AI short film workflow, from generating clips with VideoGen to editing and refining everything in DaVinci Resolve.