The best AI image generators for creating artistic visuals
We tested 9 AI image generators on identical artistic prompts (same style-transfer task, same day) to see which one actually paints like an artist.
Envato: Get every type of asset for any type of project, and access to AI tools. Start now
The six-element prompt formula and workflow that turns AI generations into movie stills.
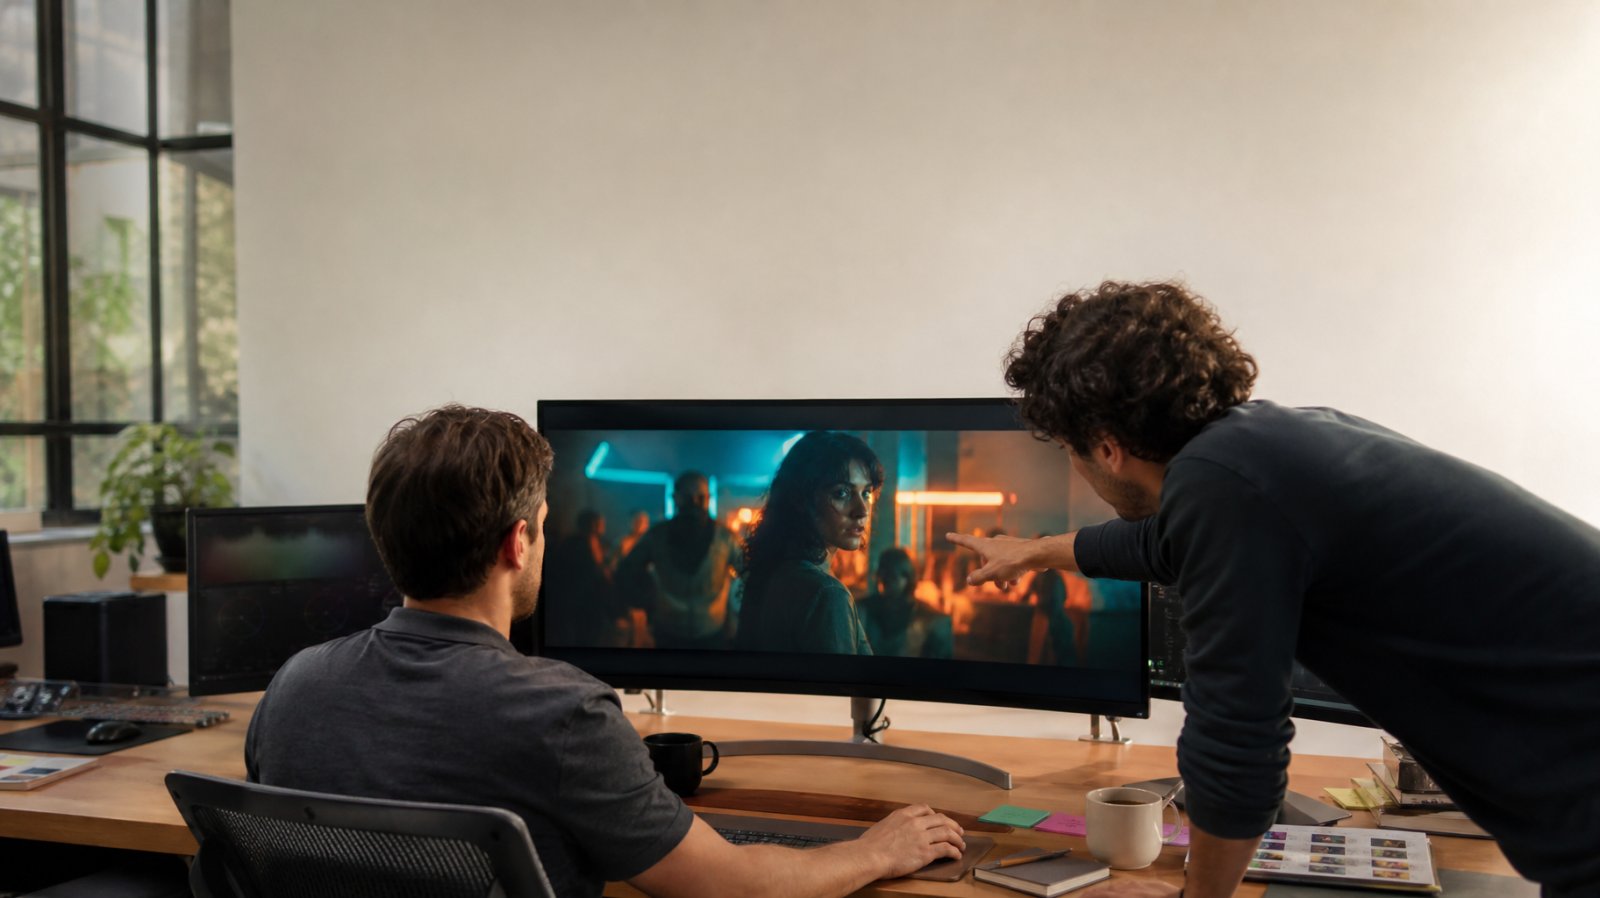
Everyone’s seen them — AI frames so composed, so deliberately lit, they could be paused moments from a film that doesn’t exist. And everyone’s tried to make one, typed “cinematic” into the prompt box, and gotten back something that looks like a screensaver. The gap between those two outcomes isn’t luck or a secret tool. It’s a six-element formula and a workflow — and by the end of this guide, you’ll have both, plus one detective on a rain-slicked neon street to prove it.
Cinematic AI images are AI-generated visuals built to look like frames from a film. Instead of accepting default output, you prompt for deliberate lighting, color grading, camera and lens characteristics, and widescreen framing. The result reads as a movie still: intentional light, a coherent palette, and a frame composed like a shot rather than a render.
Every cinematic prompt is built from the same six elements, in this order:
Each element gets its own step below.
The skimmer’s version of the full workflow:
The steps below deliver the detail, with one worked example carried through the whole project.
An Envato subscription with access to the AI tools. Image generation, refinement, and video generation live in one experience, so the entire workflow happens without exporting from one tool and re-uploading to another.
You’ll also want a reference point for the look you’re after: a film still, a mood, or a genre like noir, sci-fi, or golden-hour drama. Deciding the aesthetic before you prompt saves generations. If you want to anchor composition or palette to something real, a stock image from Envato’s catalog works as a visual reference for generation.
One thing you don’t need: model research. Envato selects the right AI model for the task behind the scenes, so the prompt and the workflow are what you focus on.
Write the subject and setting with concrete, visual specificity. Not “a woman in a city” but character detail, wardrobe, era, weather, and time of day — specificity about subject and composition is what separates generic output from controlled results.
For the running example in this guide, the project is a lone detective on a rain-slicked neon street. Here’s the base prompt:
A weathered detective in a rain-soaked trench coat, standing beneath a flickering neon sign on a narrow city street at night, wet asphalt reflecting the lights, light rain falling.
Generate it in Envato’s AI image generator. Your session automatically keeps this prompt and its outputs organized, so nothing gets lost as iterations stack up.
This foundation matters because every later element modifies it. A vague base produces frames that no amount of lighting language can rescue.
Lighting is the single biggest lever between “AI render” and “movie still.” Flat, even lighting is the default failure mode of unprompted generations, so name a technique and a direction:
Low-key plus rim light suits the detective scene. Add this line to the base prompt:
Low-key lighting with a strong rim light from the neon sign behind him, deep shadows across the street, his face half-lit.
Compare this generation with the Step 1 output and the difference is immediate. The base version lights the whole street evenly; this one carves the detective out of the darkness, with the neon tracing his silhouette and most of the frame falling into shadow.
Grading language tells the model how to treat every pixel, not just the subject. It’s also what makes a set of shots feel like they belong to the same film. The go-to cinematic grades:
Teal shadows against sodium-orange highlights fit the neon street. The prompt grows again:
Teal shadows with sodium-orange highlights, slightly desaturated midtones, cinematic color grade.
One mistake to avoid here: stacking conflicting grade terms in a single prompt. “Orange-teal, warm vintage, cool desaturated” muddies the output because the model tries to honor all three. Pick one palette per generation.
Lens language is where most prompts stop short, and it controls perspective and focus in ways lighting and grading can’t. The vocabulary the model responds to:
Then set the aspect ratio at generation time. Generate in landscape at 16:9 — building the composition into a wide frame beats cropping square output later. For a true letterbox ratio like 2.39:1, crop down from the 16:9 frame after upscaling; you lose far less than cropping from square. For more lens vocabulary and photorealistic prompting, these AI photography prompts go deeper.
Here’s the payoff: the full six-element prompt for the detective frame.
A weathered detective in a rain-soaked trench coat, standing beneath a flickering neon sign on a narrow city street at night, wet asphalt reflecting the lights, light rain falling. Low-key lighting with a strong rim light from the neon sign behind him, deep shadows across the street, his face half-lit. Teal shadows with sodium-orange highlights, slightly desaturated midtones, cinematic color grade. Shot on an anamorphic lens, 35mm, shallow depth of field, low angle.
Set the aspect ratio to landscape before generating.
Evaluate the generation against the six elements, then refine the strongest output rather than starting from zero. Adjust the specific element that’s off with a follow-up prompt in Envato’s AI image editor: “deepen the shadows on the left,” “reduce the orange in the highlights,” “pull the framing wider.” Iterating on an existing result beats regenerating from scratch — you keep what’s working and change only what isn’t.
Raw output is a starting point, not a deliverable, and refinement is where the hours actually go. In Envato’s own Beyond Adoption research, 49% of creative pros now use AI daily for client work — and the finishing pass is what makes that output shippable. The finishing work is the work.
For the detective frame, one refinement pass looks like this: deepen the shadows behind him, remove a garbled neon character in the sign, and clean up his hand where the fingers blur into the coat. If a placement needs more room around the subject, you can expand images with AI instead of recomposing from scratch.
Because the session preserves every prompt, reference, and output, you can compare versions and step back to an earlier frame without digging through downloads. That’s the “lost the version you liked” problem, solved.
One finished frame is an image. A consistent set is a storyboard, a short-film sequence, or a campaign. This is the thing prompt-only approaches can’t reliably do, and it works like this: reuse the finished frame as the reference for the next generation, keep the lighting, grade, and lens lines of the prompt fixed, and change only the shot description.
Treat that lighting-grade-lens portion as a locked “style block.” It’s non-negotiable across every shot in the sequence. Because one generation becomes the reference input for the next inside the same session, the model matches the character and palette instead of you matching them manually.
Extending the detective scene into three shots: a wide establishing shot of the empty street with the detective small in frame, a medium shot as he steps off the curb, and an 85mm close-up of his face in the neon rim light. Same style block, three shot descriptions, one coherent scene.
Use the finished cinematic frame as the reference for a video generation. The composition, lighting, and grade carry through from the still, so the prompt only needs to describe motion. Keep it simple: one camera move plus one subject or environment motion per generation reads more cinematic than stacked directions. For the detective frame:
Slow push-in as rain drifts through the neon light, the detective slowly turning toward the camera.
The still-to-video handoff is exactly where momentum dies in a multi-tool setup: downloading the frame, opening a separate video tool, and rebuilding the prompt from memory. In the Envato experience, the session carries the context forward, so your best frame becomes a moving shot without leaving the workflow. When you’re ready to go deeper on motion language, our AI video prompting guide covers it.
Everything in this workflow points at one idea: the value isn’t in the generation, it’s in the judgment. The formula gets anyone to a decent frame — but choosing the light, holding a grade across a sequence, knowing which of twelve outputs is the one and what its final five percent needs — that’s taste, and taste is the part no tool supplies. Which is exactly why these techniques belong in professional work rather than around it: pitch frames that sell a concept before a shoot is booked, storyboards a client can feel, mood pieces, campaign visuals, the shot that exists nowhere in any library.
Cinematic results aren’t lucky prompts. They’re a repeatable formula plus a workflow where every generation is the starting point for the next — and where your eye does the directing. So take the six-element formula, build one frame, refine it until it’s production-ready, and push it into motion. The detective is waiting on his neon street. Go make your own.
Name the technique in the prompt (low-key, rim light, golden hour, chiaroscuro) plus a light direction. One specific lighting line beats the word “cinematic” every time.
Reuse a finished frame as the reference for the next generation, and keep the lighting, grade, and lens portion of your prompt fixed while changing only the shot description.
Yes. Use the still as the video reference and describe only the motion, one camera move plus one subject or environment movement. In the Envato experience this happens without switching tools.
Generate in landscape at 16:9 for the widescreen look, then crop to a letterbox ratio like 2.39:1 in the editing pass if the project calls for it.
Refine your strongest frame instead of regenerating. Fix artifacts, adjust lighting or framing with follow-up prompts, and extend the canvas if a placement needs more room, all within the same session.
No. Envato selects the right model for the task behind the scenes, so the prompt and workflow are what you focus on.
We tested 9 AI image generators on identical artistic prompts (same style-transfer task, same day) to see which one actually paints like an artist.
Learn how to separate an image into editable layers with Envato Layers, then move, resize, transform and export individual elements.
Learn how to edit an image with AI using Envato’s image annotation tool to select specific areas, make precise changes, and control where edits appear.

AI is reshaping photography at capture, edit and trust. Here's which segments are exposed, what provenance actually proves, and the skills that hold their value.